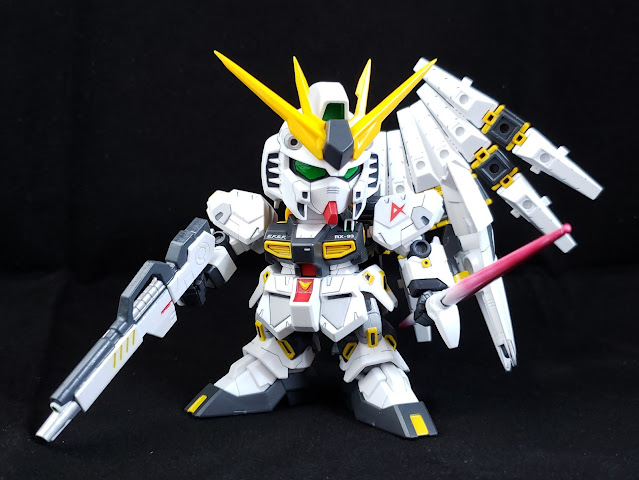
After spending so much time on the SD EX-Standard Deathscythe Hell EW, I wanted to try a different model kit, so I opted for one of the SD BB Senshi figures. I also knew that I didn't want to do a full paint job on my second kit, so, out of the kits I had remaining on my shelf, I chose the RX-93 Nu Gundam, which I felt would need relatively little hand-detailing only.
I had a much more fun time with this kit versus the Deathscythe. I had my feet planted firmly beneath me and without the pressure of painting every piece, I was able to work at a slightly more relaxed pace. That's not to say the kit wasn't challenging or that I didn't make mistakes, but the larger parts and greater color separation actually made this one significantly easier, despite its slightly increased technical complexity.
At the time I bought my first batch of kits, I had minimal exposure to the actual Gundam franchise (I had only seen Gundam Wing and a few random episodes of a couple other series), so I was buying strictly based on whether I liked the design of the Gundam. I had no idea that this was the suit of the legendary Amuro Ray which he piloted in the film Char's Counterattack. Regardless, I loved (and still love) the amazing asymmetrical design of the Nu Gundam with the big "wing" (which I would later learn are the suit's "funnels" - detachable remote weapons).
A second front shot with funnels detached in flight mode. The kit does come with a sculpted plastic "exhaust trail" that can be attached to the back of the Gundam to pose one of the funnels in mid-flight. I opted not to use this piece though, as I thought it was a little corny-looking.
Closeup of the beam saber. I think the gradient effect I was able to achieve with the airbrush came out pretty good.
Closeup of the beam rifle. I always like to add some little customized details to the weapon, as you can see here with the hits of red, yellow, and silver.
Another front shot, with the aforementioned bazooka - what a sweet piece of hardware.


Comments
Post a Comment