
I put off buying this and a few other SD kits, as I really wanted to move on to HG or MG figures. However, my SD Nu Gundam looked so lonely without its rival counterpart that I decided I had to go ahead and build the famous Sazabi.
I see why people love this mobile suit so much - its squat, chunky design is really appealing and, as a model kit, it was one of the most fun to build out of all the SD's I've done. That said, I didn't want to spend a lot of time here, so I opted to only paint certain parts - subsequently the red is all straight plastic (though panel lined and with a clear flat topcoat). All the other colors are painted, mostly by airbrush.

This was the first kit I ever scribed. I had my eye on the elusive BMC chisels, but was unable to find them at a reasonable price, so I opted for a comparable pair from Madworks instead. It's definitely a tricky technique, one for which I need a lot more practice.
For those who don't know, scribing is the practice of using a fine-tipped chisel to cut deeper grooves into the existing panel lines (so they stand out more) and also cutting new panel lines where there weren't any before. This enhances the perceived detail of your kit, making something relatively simple appear much more intricate.

Side view - you can get a pretty good look at the shield here, which is my favorite part of this kit. I had a lot of fun painting in the recessed gray areas, which were easy to clean up and came out looking very sharp. I opted to use the included foil sticker for the center emblem, which I think looks pretty good as stickers go.
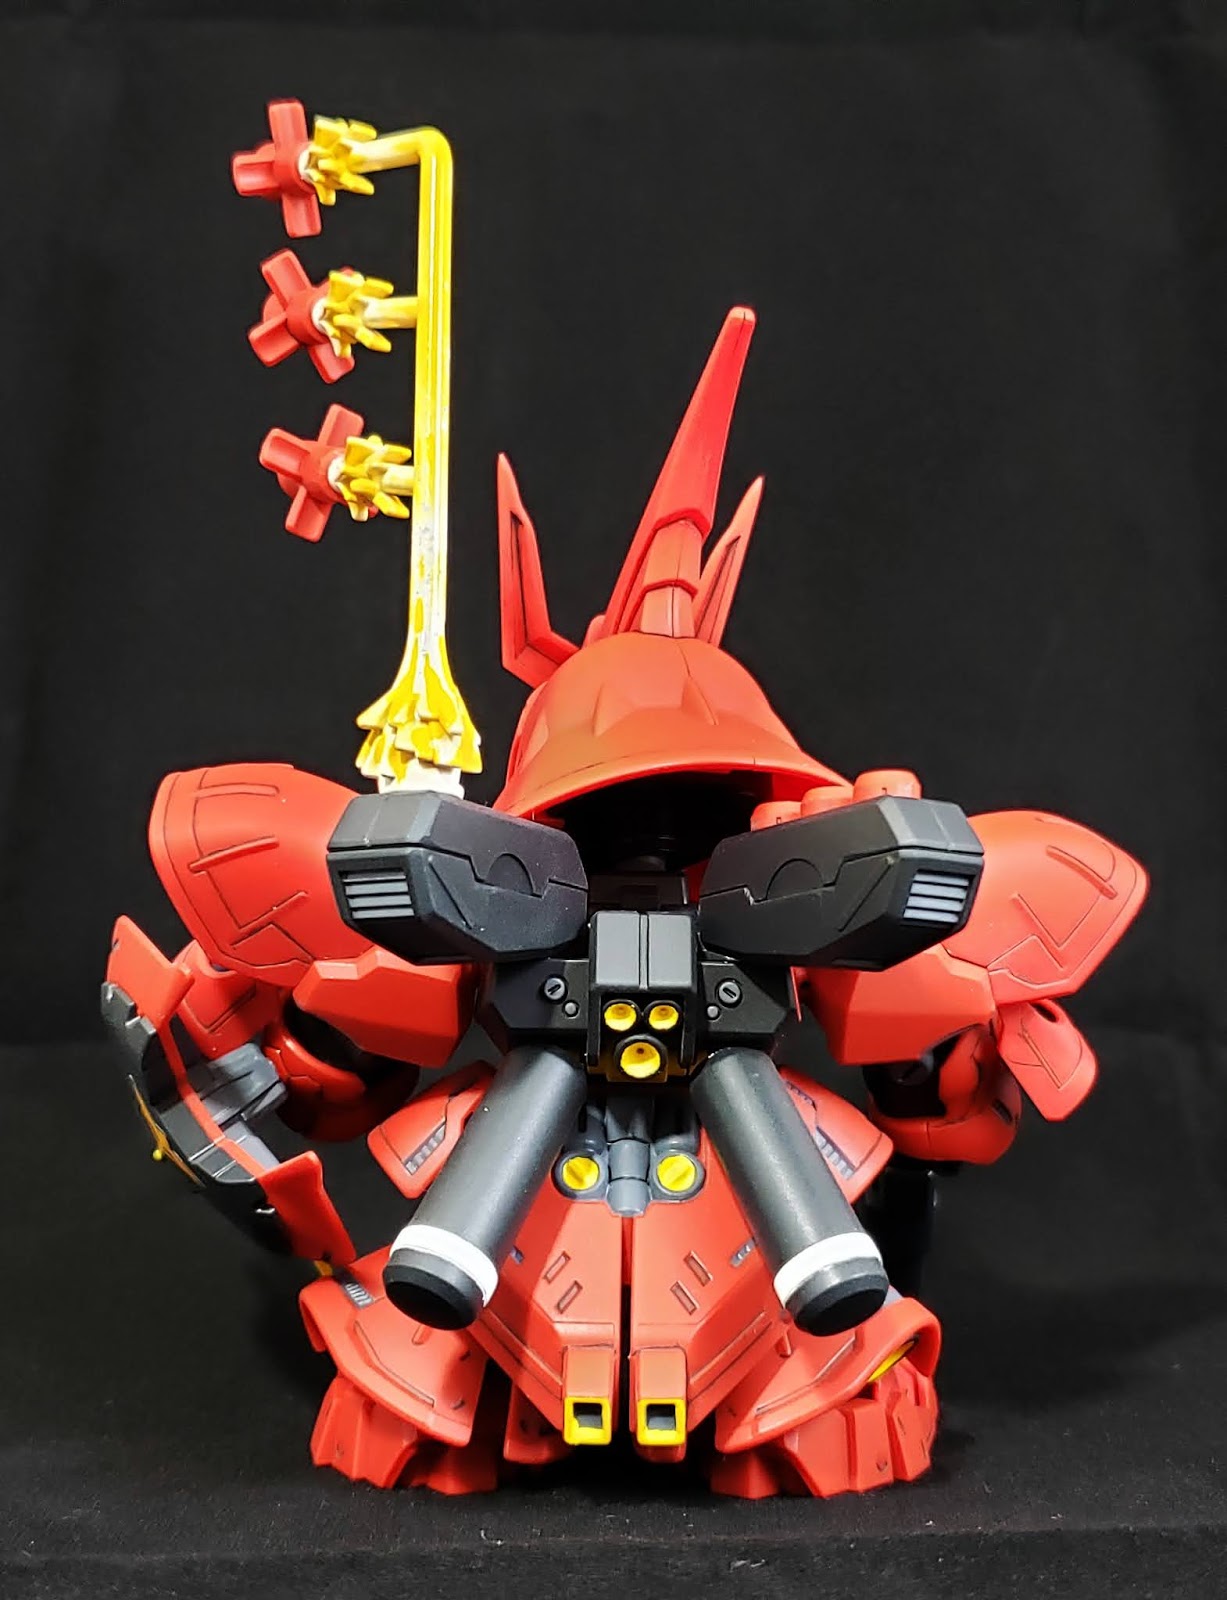
Rear view. Lots of little hand-painted details here, like the lighter grays and yellows. I had a hard time with the yellows in this area, i.e. in the thruster bells and in the skirt vents. Both came out sloppier than I would have liked.


Closeup of the beam rifle. Again, I kept it simple here, just adding some copper touches.

I like to spray a bit of white gradation on energy parts, which you can see here on the interior of the shield. I also did a bit on the energy trails from the launched funnels on the backpack (visible in other pics).

While spraying my topcoat, my airbrush had some sputtering issues - you can see the unfortunate results on the left fist (a sort of dusty look).
Otherwise, the details came out really nice. Lots of scribing and panel lining work on the armor, which was a lot of effort, but worth it in the end.

Closeup of the funnels in-flight. I think these little things are really cool and add a nice action element to the posed figures. The flight trail isn't the best since it's a solid color rather than clear like more advanced kits. But for the price, it is what it is.


Before and after shots.
Comments
Post a Comment